
Drywall Repair From Small Holes to Large Patches

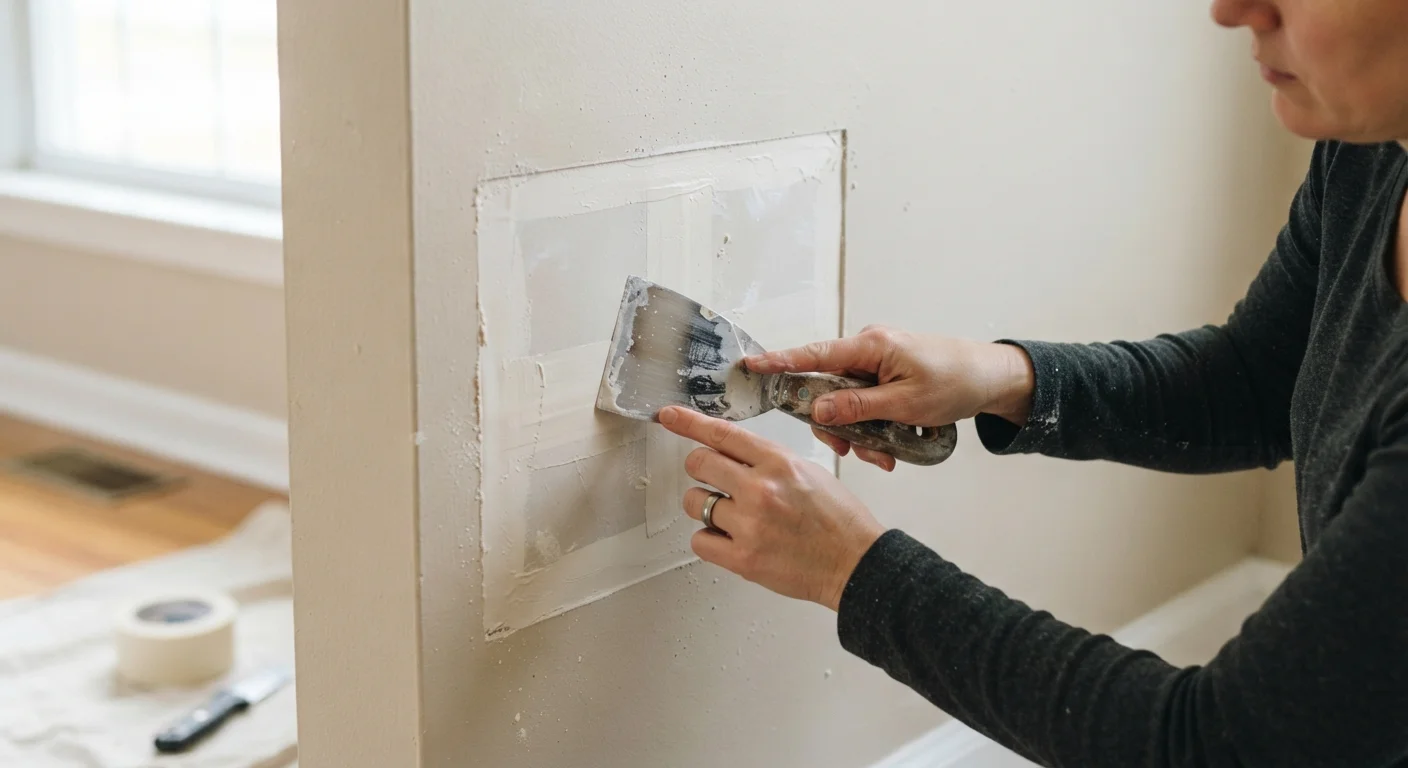
Photo: ShortwebArticles.com | Content For The Curious editorial
Key Takeaways
- Repair method depends on hole size — small, medium, and large holes each need a different approach.
- Joint compound must dry fully between coats; rushing this step causes cracks and poor adhesion.
- Feathering compound edges outward is the key technique for invisible, seamless repairs.
- Large holes require a backer board or California patch to give the compound a solid surface to grip.
- Sanding between coats and priming before painting produces a professional-looking finish.
Why the Right Method Matters
Drywall repair is one of the most common home maintenance tasks, but it's also one of the easiest to do poorly. The most frequent mistake is treating every hole the same way — reaching for spackle regardless of size. A nail hole and a fist-sized impact require fundamentally different approaches. Use the wrong one, and the patch either fails structurally or remains visible under paint no matter how many coats you apply.
The good news: the correct method for each damage size is straightforward, and most of the necessary tools are ones you may already own or can pick up inexpensively. What makes a repair truly invisible isn't expensive materials — it's technique, patience between coats, and the finishing steps most people skip.
Older Homes May Contain Hazardous Materials
Before you start, gather your materials.
What you will need
Tools You'll Need
Having the right tools on hand before you start prevents mid-project trips to the hardware store and keeps the work moving efficiently.
Putty Knife (3-inch)
Fills and smooths small holes and nail pops with joint compound.
Taping Knife (6- to 10-inch)
Feathers joint compound smoothly over medium and large patches for a flat finish.
Self-Adhesive Mesh Tape
Bridges and reinforces medium-sized holes before compound is applied.
Drywall Saw or Jab Saw
Cuts clean, straight edges around damaged drywall for large-patch repairs.
Sanding Block
Provides even pressure while sanding dried compound to avoid low spots.
Corner Bead
Reinforces repaired outside corners so edges stay crisp and durable.
Step-by-Step Repair Instructions
Follow these steps in order, choosing the approach that matches your damage size as outlined in Step 1. Allow each coat of compound to dry fully before proceeding — don't rush this process.
Assess the damage and choose your method
Size up the hole before reaching for any tools. Use these general guidelines:
- Nail holes and hairline cracks (under ½ inch): Spackle or a dab of joint compound pressed in with a finger or 3-inch putty knife.
- Medium holes (½ inch to 4 inches): Self-adhesive mesh patch plus two or three coats of joint compound.
- Large holes (over 4 inches): A drywall patch held in place by backer boards or the California patch technique, then taped and mudded.
Repair small holes and nail pops
For nail holes, dimple the surface slightly with a hammer so the nail head sits just below the surface. For small dings, clean away any loose paper facing. Apply a thin layer of joint compound with a 3-inch putty knife, pressing it firmly into the hole. Scrape the surface flat and let it dry completely — usually 4 to 6 hours depending on humidity. Apply a second thin coat if any shrinkage occurs, then sand smooth with 220-grit paper once fully dry.
Patch medium holes with mesh tape
Center a self-adhesive mesh patch over the hole and press it firmly onto the wall. Using a 6-inch taping knife, spread joint compound over the mesh using diagonal strokes, forcing compound through the mesh openings to bond to the wall behind. Extend the compound 2 to 3 inches beyond the patch edges. Let dry completely. Apply a second coat with a wider knife, feathering the edges outward 4 to 6 inches. Lightly sand with 120-grit after the second coat, then apply a thin finish coat and sand with 220-grit once dry.
Cut and set a backer board for large holes
Use a drywall saw to cut the damaged area into a clean rectangle or square. Cut two pieces of 1×3 furring strip a few inches taller than the opening. Slide each strip behind the drywall on opposite sides of the opening, hold them flush with the wall face, and drive drywall screws through the existing drywall into the strips to secure them. Cut a drywall patch to fit snugly in the opening, then screw it into the backer strips. The patch surface should sit flush with the surrounding wall.
Tape and mud the large patch
Apply joint compound along all four seams of the patch. Embed paper drywall tape into the wet compound, pressing it flat with your taping knife. Coat over the tape immediately with a thin layer of compound and smooth it out. Let dry fully. Apply two more coats with progressively wider knives (8-inch, then 10-inch), feathering each coat several inches beyond the last. Sand lightly between coats with 120-grit; use 220-grit for the final pass.
Prime and paint the repaired area
Once the final coat is sanded smooth and you can run your hand across the surface without feeling any transition, apply a coat of drywall primer or PVA primer to the repaired area. This prevents the fresh compound from absorbing paint unevenly — a phenomenon called flashing, where repaired spots appear dull or a different sheen from the surrounding wall. Allow primer to dry, then apply your finish paint. You may need two coats of paint to fully blend the repair.
Match Texture Before You Paint
Getting a Seamless Finish
The difference between a repair that's invisible and one that telegraphs through every coat of paint comes down to a few finishing details.
Sand in stages
Use 120-grit paper to knock down ridges and tool marks, then switch to 220-grit for the final smoothing pass. Always use a sanding block — your fingers conform to the surface and can create low spots that a flat block won't.
Check in raking light
Hold a work light at a sharp angle to the wall surface. This side-lighting — called raking light — reveals any ridges, low spots, or trowel lines that flat overhead lighting hides. Mark any imperfections lightly with a pencil and touch them up with a thin skim coat before priming.
Never Skip the Primer Step
Match the sheen
When painting the repair, use the same sheen level as the surrounding wall — flat, eggshell, or satin. Mixing sheens, even with the same color, creates visible differences under certain lighting conditions.
The content on this site is for informational purposes only and is not a substitute for professional advice. Always consult a qualified professional for guidance specific to your situation.