
Why Caulk Fails — and How to Apply It So It Actually Lasts

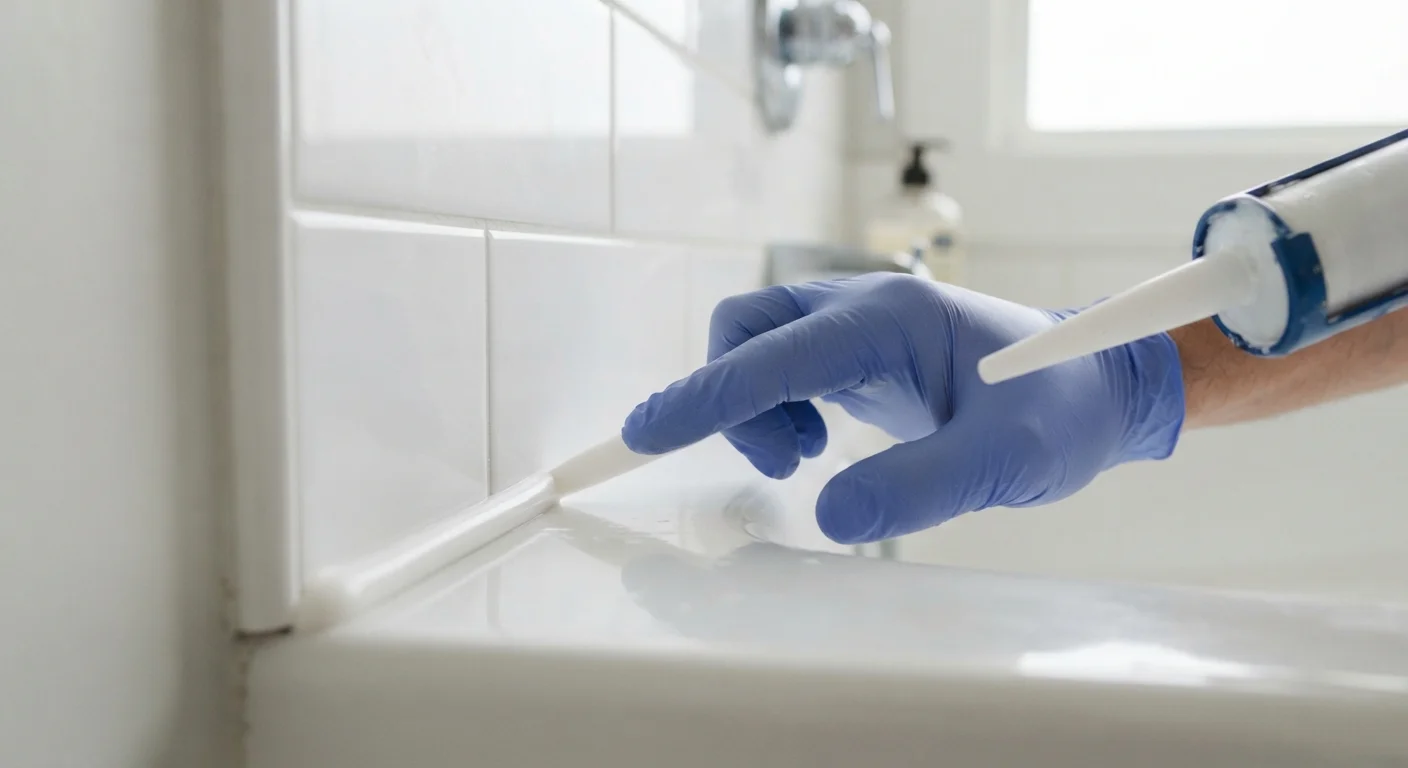
Photo: ShortwebArticles.com | Content For The Curious editorial
Key Takeaways
- Most caulk failures trace back to skipped surface preparation, not product quality.
- Applying caulk over old, cracked caulk almost always leads to early failure.
- Choosing the wrong caulk type for the location — such as using paintable latex in wet areas — causes premature peeling.
- Curing time varies by product; disturbing caulk before it fully cures undermines the seal.
- A smooth, properly tooled bead bonds better and sheds water more effectively than a thick, lumpy one.
Why Caulk Keeps Failing You
If you've ever re-caulked a tub or window only to watch it crack, peel, or go moldy within a season, you're not alone — and the caulk itself is rarely the culprit. The vast majority of premature failures come down to surface preparation and application technique. Understanding why caulk fails is the first step toward a seal that actually holds.
Caulk works by forming a flexible adhesive bridge between two surfaces. When either surface is dirty, damp, or coated in old sealant, that bridge can't form properly. When the wrong product is used or the bead is applied incorrectly, flexibility and adhesion suffer. The good news: every one of these problems is preventable.
Applying caulk to a wet or dirty surface.
Leaving old caulk in place and applying a fresh layer on top.
Using interior acrylic latex caulk in a wet area like a tub surround or shower.
Applying too large a bead and not tooling it into the joint.
Exposing fresh caulk to water or movement before it has fully cured.
Getting the Application Right
Once you've avoided the common mistakes, a few technique fundamentals make the difference between a tidy, lasting seal and a messy re-do.
Match the Caulk to the Location
Cut the nozzle at a shallow angle
Cut the caulk tube nozzle at roughly a 45-degree angle, opening it just wide enough to match the gap you're filling — usually no more than ¼ inch. A smaller opening gives you more control. Hold the gun at a consistent angle and move steadily in one direction, letting the caulk lay into the joint rather than riding on top of it.
Tool the bead immediately
Within a minute of applying caulk, wet your fingertip or a caulk-finishing tool with a drop of dish soap and water, then draw it smoothly along the bead in one pass. This presses the caulk firmly against both surfaces and creates a concave profile that sheds water rather than trapping it. Don't overwork it — one clean pass is enough.
Respect the cure time
Silicone caulk typically skins over in 30 minutes but needs 24 hours or more to fully cure. Latex caulk may feel dry in an hour but shouldn't be exposed to water for at least 24 hours. Check the product label and resist the urge to test the seal early. Running water or closing a window before caulk has cured breaks the bond before it has a chance to set.
With the right prep, the right product, and a steady hand, a properly applied bead of caulk can last five to ten years — sometimes longer in low-stress locations.
The content on this site is for informational purposes only and is not a substitute for professional advice. Always consult a qualified professional for guidance specific to your situation.