
Renting a Home

Moving Into a New Rental: A Room-by-Room Walk-Through Checklist

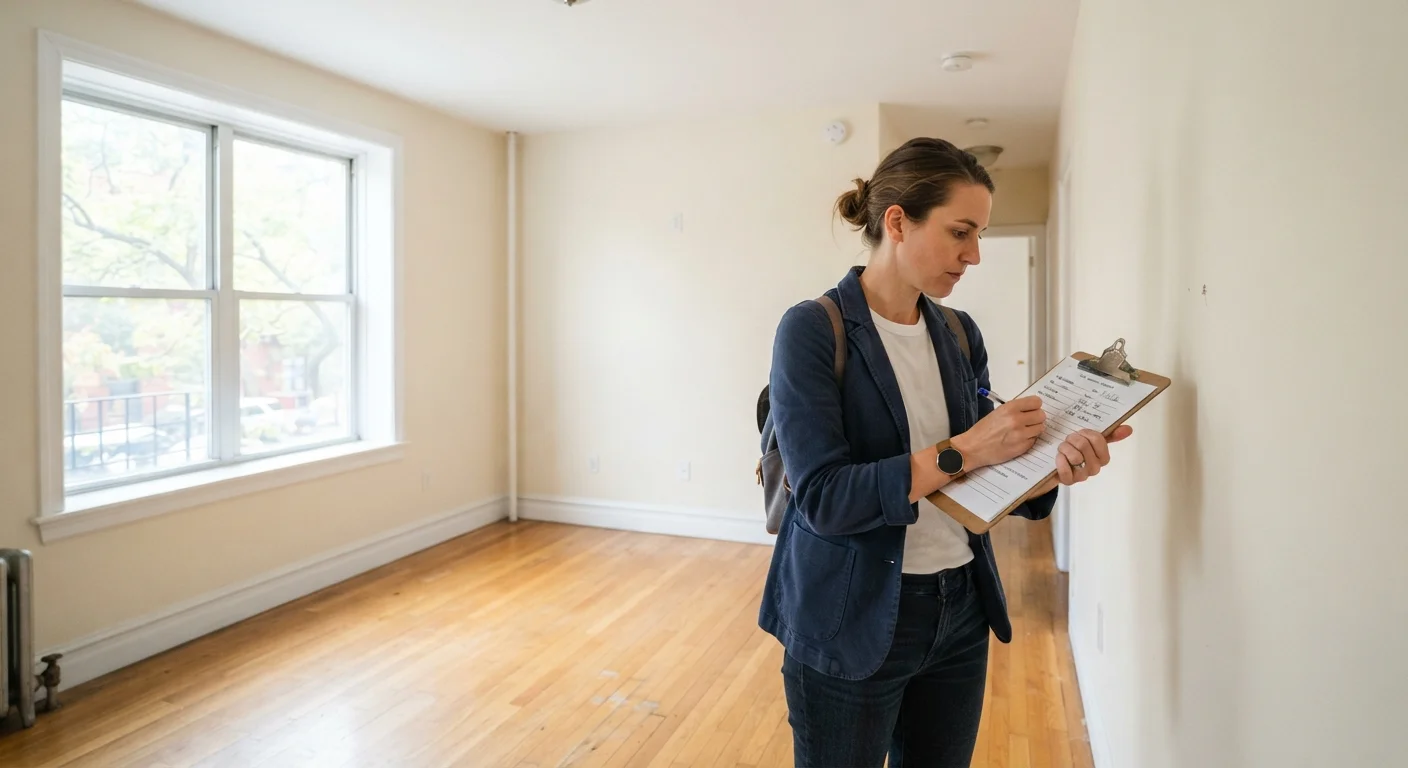
Moving Into a New Rental: A Room-by-Room Walk-Through Checklist

Photo: ShortwebArticles.com | Content For The Curious editorial

Protect your security deposit from day one. Use this move-in inspection checklist to document the unit's condition before your first night.

Key Takeaways

  • Complete your walk-through inspection before moving any belongings into the unit.
  • Photograph and timestamp every defect you find, then share copies with your landlord in writing.
  • A signed move-in checklist is your strongest protection against unfair security deposit deductions.
  • Test every appliance, fixture, lock, and switch during the inspection — not after move-in.
  • Many states give landlords a legal deadline to return deposits; knowing your state's rules matters.

Why a Move-In Inspection Is Non-Negotiable

The gap between getting your keys and bringing in your first box is the most important window of your entire tenancy. What you document — or fail to document — in those first hours can determine whether you receive your full security deposit back when you eventually move out.

Landlords are generally permitted to deduct from security deposits for damage beyond normal wear and tear. The challenge is proving which damage existed before you arrived. Without a written, photographic record, it becomes your word against the landlord's. That's a dispute most tenants lose.

If you're new to renting, understanding how security deposits work before you sign anything will give you critical context for this checklist. And once you've completed your inspection, knowing what landlords can and cannot legally deduct will help you respond confidently if a dispute arises.

Walk through the unit with a landlord representative if possible, and always submit your completed checklist to the landlord in writing — email with read-receipt is ideal — within any deadline your lease specifies.

Document Before You Move Anything In

The inspection must happen before any furniture, boxes, or belongings enter the unit. Once items are inside, it becomes nearly impossible to prove that a scratch or stain was pre-existing. If possible, schedule the walk-through for the same day you receive the keys but before the moving truck arrives. Keep your signed form and photos stored in at least two places — such as cloud storage and email — so you can access them years later if needed.

What to Bring and How to Prepare

Arrive at the inspection prepared. A rushed walk-through with no tools is nearly as risky as skipping it entirely.

Required

Smartphone with camera

Capture timestamped photos and video of every room and any pre-existing damage.

Required

Move-in inspection form

A written room-by-room form to record conditions in writing, to be signed by both parties.

Required

Portable phone charger or small lamp

Plug into each outlet to quickly verify it is live and functional.

Optional

Flashlight

Illuminate dark corners, inside closets, and under sinks where defects are easy to miss.

Optional

Notepad or notes app

Record observations in real time, keyed to room names, before filling in the formal form.

Give yourself adequate time — ideally a weekday morning when natural light is best and you're not pressed for time. Take photos and short video clips in each room before filming any damage close-up. This establishes the overall context of what you're seeing.

The Room-by-Room Checklist

Work through every room systematically. Don't skip areas that look fine at a glance — scratches inside closets, stains under rugs, and faulty GFCI outlets are easy to miss and costly to dispute later.

Before You Begin

Confirm the inspection date and time with your landlord or property manager, ideally before your official move-in date. Must
Bring a printed or digital move-in inspection form along with your camera or smartphone fully charged. Must
Enable date and time stamps on your phone camera so every photo is automatically dated. Must
Request that the landlord or their representative be present to co-sign the completed form. Should

Entry, Hallways & Closets

Test all door locks, deadbolts, and chain locks to confirm they operate smoothly and the keys provided work correctly. Must
Check the front door frame, threshold, and weatherstripping for gaps, damage, or rot. Should
Inspect closet shelving, rods, and doors for stability — note any missing hardware or damaged surfaces. Should
Photograph any scuffs, dents, or paint chips on entry walls and baseboards. Must

Kitchen

Run all burners and the oven, confirming each element or flame ignites and the oven reaches temperature. Must
Test the refrigerator and freezer to confirm they maintain proper cooling temperatures. Must
Run the faucet at full pressure and check underneath the sink for signs of leaks, water stains, or mold. Must
Test the dishwasher through a short cycle and confirm the door latch closes securely. Should
Test the GFCI outlet near the sink by pressing the test and reset buttons to confirm it trips and resets correctly. Must
Inspect cabinet doors and drawers for broken hinges, missing handles, or damaged interiors. Should

Bathrooms

Flush the toilet and confirm it fills without running continuously — a running toilet can add to your water bill if you pay utilities. Must
Run both hot and cold water in the sink and shower, checking for adequate pressure and proper drainage speed. Must
Inspect caulking and grout around the tub, shower, and sink for cracks, mold, or missing sections. Should
Test the exhaust fan to confirm it runs and actually ventilates — poor ventilation leads to mold growth. Should
Photograph any existing stains, chips, or cracks in the tub, toilet, and tiles. Must

Living Room, Bedrooms & Common Areas

Test every light switch and electrical outlet in each room using a phone charger or small lamp. Must
Open and close all windows to confirm they open, lock, and have intact screens. Must
Inspect floors, walls, and ceilings for stains, holes, cracks, or water damage marks — photograph all findings. Must
Test the heating and cooling system by running both heat and air conditioning for at least five minutes. Must
Check that smoke detectors and carbon monoxide detectors are present and test them using the test button. Must
Look for signs of pest activity such as droppings, nests, or gnaw marks in corners and behind fixtures. Should

Exterior, Parking & Building Common Areas

Inspect assigned parking spaces or garage areas for existing damage or debris that could become your liability. Should
Test any mailbox or package locker keys provided to confirm they work. Nice to have
Check that any patio, balcony, or storage space included in your lease is in the condition described. Should

Final Documentation Steps

Compile all photos and videos into a clearly labeled folder organized by room and date. Must
Complete and sign the move-in inspection form, and request a counter-signature from the landlord or their agent. Must
Send the completed form and photo documentation to your landlord via email and keep a copy in your own records. Must
Note the meter readings for gas, electric, and water where applicable, and photograph them with a timestamp. Should

Never Skip Verbal-Only Agreements

If a landlord verbally promises to fix something before you move in, get it in writing before signing or taking possession. Verbal commitments are extremely difficult to enforce. If a repair is a condition of your move-in, ask for it to be noted in the lease or in a signed addendum. Anything that isn't documented should be treated as if it won't happen.

Once your inspection is complete, submit your documented checklist to the landlord promptly. If any issues need repair before you settle in, submitting a maintenance request the right way ensures there's a paper trail from day one.

For a broader view of all costs involved in renting — including what your deposit actually covers — see the full cost of renting beyond the monthly rent figure. This checklist is also one key step in the complete renter's roadmap from search to move-out.

This article is for general informational purposes only and does not constitute legal or financial advice. Tenant rights and landlord obligations vary by state and locality. Consult a qualified attorney or local tenant advocacy organization for guidance specific to your situation.

Real Estate Editorial Team

ShortwebArticles.com | Content For The Curious

Real Estate Editorial Team is the collective byline for our editorial team and contributor network. Articles published under this byline or an editorial pen name are researched, written, and reviewed according to our editorial standards for clarity, consistency, and independence before publication.

Renting a HomeBuying a HomeHousing Market Basics
View author profile

The content on this site is for informational purposes only and is not a substitute for professional advice. Always consult a qualified professional for guidance specific to your situation.