
Navigating a Foreign Airport: Arrivals, Customs, and Baggage Claim Explained

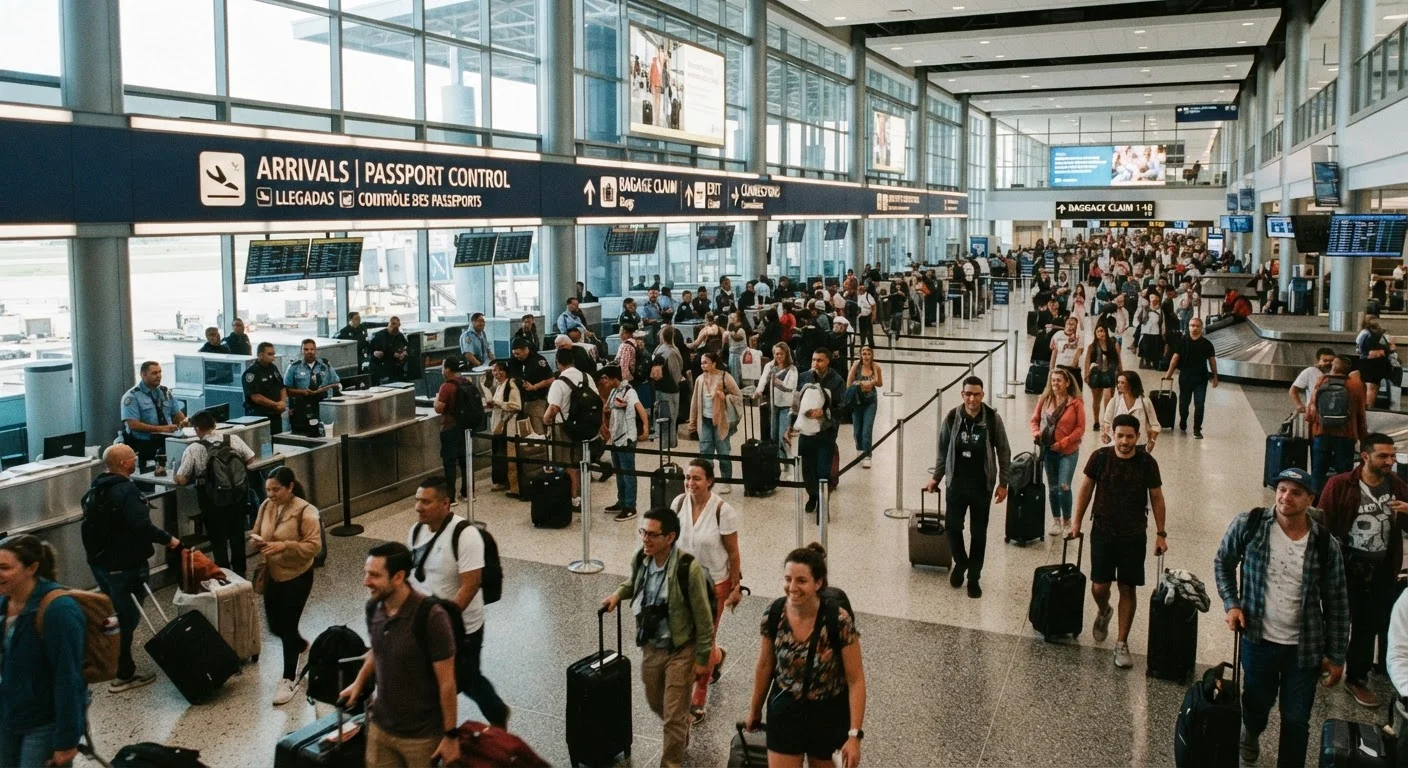
Photo: ShortwebArticles.com | Content For The Curious editorial
Key Takeaways
- Follow "Arrivals" signs immediately after deplaning — the terminal will guide you to immigration.
- Complete any required entry forms honestly and completely before reaching the immigration officer.
- Customs declarations are legally required — declaring items is always safer than risking a fine.
- Baggage carousels are labeled by flight number; confirm yours before waiting.
- Keep your passport and boarding pass accessible until you've fully cleared the airport.
What Happens Between Landing and Leaving the Airport
For many first-time international travelers, the most stressful part of the trip isn't the flight — it's the 45–90 minutes after landing, navigating an unfamiliar process in an unfamiliar building, sometimes in an unfamiliar language. The good news: the process follows a predictable sequence that's nearly universal. Once you understand the pattern, it becomes routine.
Here's what you'll need and what to expect at each stage:
What you will need
Passport
Primary identity and travel document required at every border crossing.
Arrival / Customs Declaration Form
Required by most countries to declare goods, currency, and food you're bringing in.
Pen
Many countries still issue paper declaration forms on the plane that must be filled out by hand.
Boarding Pass or E-ticket
May be requested by immigration officers to confirm your flight details.
Hotel Confirmation or Accommodation Address
Immigration officers routinely ask where you're staying — have the address written down.
Local Currency (Small Amount)
Useful for a porter, cart, or transport immediately after clearing customs.
Deplane and Follow Arrivals Signage
Once the plane doors open, collect your carry-on, take a breath, and follow the crowd toward the terminal. Look for signs reading Arrivals, Immigration, or Passport Control — usually in both English and the local language. Modern international airports are designed to funnel arriving passengers in one direction, so trust the signs and keep moving.
Fill Out Any Required Arrival or Customs Forms
Flight attendants often distribute paper forms before landing. Fill these out completely and honestly — immigration officers may review them. If your destination uses a digital system (many countries now offer app-based or kiosk arrivals), complete that process as directed by airline or airport staff. Common questions include your accommodation address, purpose of visit, and items you're bringing into the country.
Join the Correct Immigration Queue
Passport control typically separates travelers into lanes: one for citizens or residents of that country, and one for foreign visitors (often labeled All Passports or Foreign Nationals). As an American traveler, you'll use the foreign visitor lane unless you hold dual citizenship. Have your passport, completed forms, and boarding pass ready before you reach the officer.
When it's your turn, answer questions briefly and honestly — typical questions are about your trip's purpose, duration, and where you're staying. Avoid jokes or vague answers; immigration officers have a job to do and appreciate directness.
Collect Your Checked Baggage
After clearing immigration, follow signs to Baggage Claim. Look for the arrivals display board listing carousels by flight number — confirm you're at the right one before you wait. Bags typically begin arriving 15–25 minutes after the first passengers reach the carousel. Stay alert: luggage can look similar, so check the baggage tag before grabbing a bag.
Pass Through Customs
After collecting your luggage, you'll pass through customs — the final checkpoint before exiting the arrivals area. Most airports use a Red Channel / Green Channel system: green if you have nothing to declare beyond the duty-free allowance, red if you do. When in doubt, use the red channel. Randomly selected travelers in the green channel may still be stopped for inspection.
Customs officers focus on restricted items: certain foods, plants, large amounts of cash (often over $10,000 USD equivalent), and prohibited goods. Regulations vary widely by country, so check official government sources before you pack.
Exit into the Arrivals Hall and Orient Yourself
Once through customs, you'll enter the public arrivals hall. This is where greeters, transport desks, currency exchange kiosks, and exit routes to ground transportation are typically located. Take a moment to get your bearings before moving — locate the transport options you've pre-arranged or planned to use. If you need local currency, airport exchange desks are convenient but rates vary; see our overview of carrying cash internationally for guidance on exchanging wisely.
Common Pitfalls and How to Avoid Them
Even experienced travelers hit snags at international arrivals. Here are the most frequent issues and how to sidestep them:
- Not having accommodation details handy: Immigration officers almost always ask where you're staying. Have an address — not just "a hotel" — written or printed.
- Underestimating customs rules: Bringing in food, plant material, or large amounts of cash without declaring can create real problems. When in doubt, declare it.
- Missing your carousel: Baggage halls in large airports can have 10+ carousels. Always confirm your flight number on the display board before settling in to wait.
- Rushing through the green channel without thinking: The green channel isn't just a formality — you're making a legal declaration by walking through it. Pause and think about what you're carrying.
Your Declaration Is a Legal Document
Entry Rules Change — Always Verify Officially
Prep Pays Off Before You Land
For a broader picture of what to think through before you ever board the plane, our trip planning walkthrough is a great place to start.
The content on this site is for informational purposes only and is not a substitute for professional advice. Always consult a qualified professional for guidance specific to your situation.