
Grout Haze, Lippage, and Uneven Spacing: Tiling Pitfalls That Derail Bathroom Projects

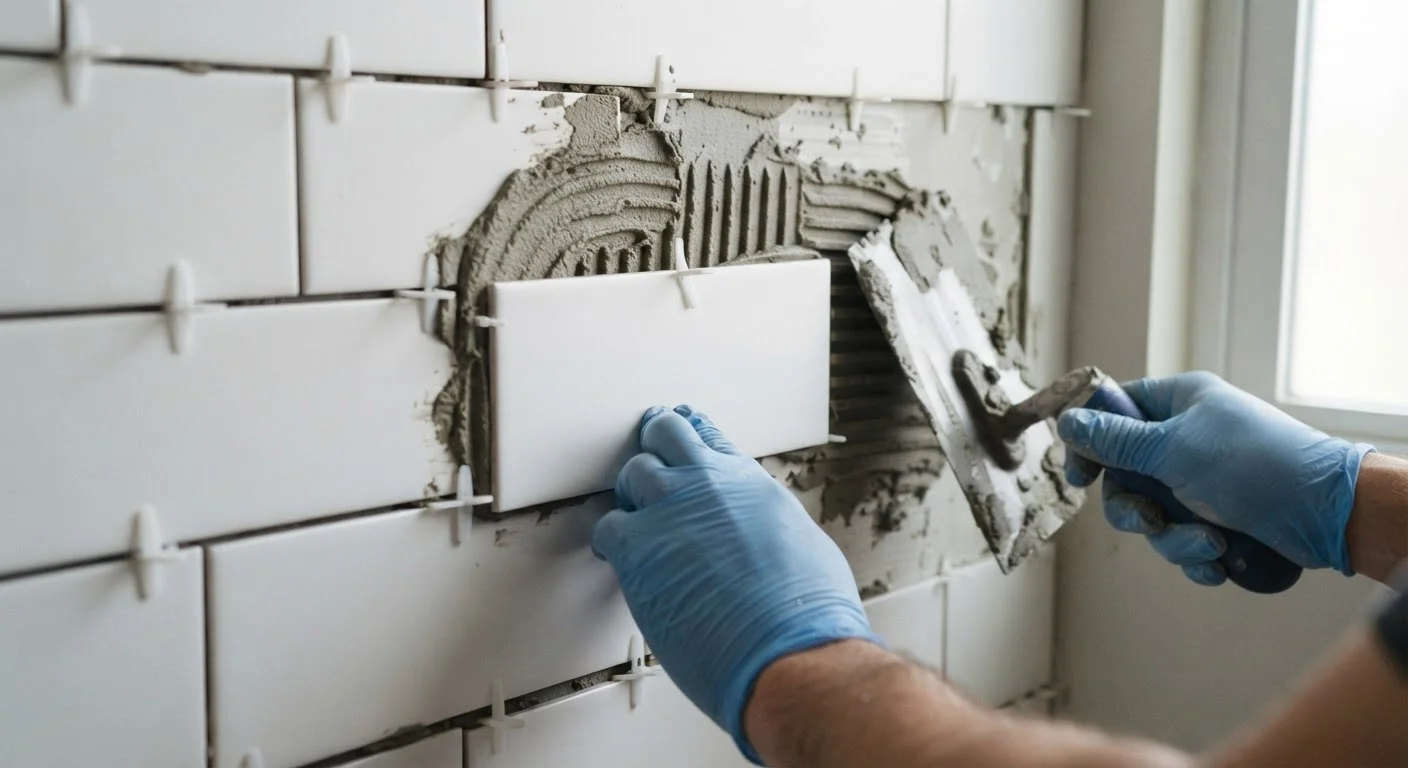
Photo: ShortwebArticles.com | Content For The Curious editorial
Key Takeaways
- Grout haze must be removed within hours of grouting — once it cures, removal becomes significantly harder.
- Lippage (tile edge height differences) is most often caused by improper mortar coverage and skipping a flat substrate check.
- Consistent tile spacing requires planning from the center of the wall outward, not from a corner.
- Skipping tile layout dry-runs before setting is one of the most common — and costly — beginner mistakes.
Why Tiling Mistakes Are Harder to Fix Than Prevent
Bathroom tile work looks straightforward until you're standing in front of a wall with a bucket of mortar and a stack of ceramic. The margin for error is slim: mortar and grout both set on their own schedules, and many of the most frustrating tiling problems — cloudy tile faces, uneven edges, gaps that wander — stem from decisions made in the first few hours of a project, not the last.
If you're newer to home improvement projects, our guide for first-time renovators offers a useful foundation for understanding how tiling fits into a broader project plan. This article zeroes in on the specific mistakes that derail bathroom tile work — and what you can do before you set a single tile to avoid them.
1/32"
Maximum acceptable lippage for most floor tiles
The Tile Council of North America specifies this threshold for tiles with grout joints of 1/16 inch or greater in residential applications.
30–60 min
Window to remove fresh grout haze
Most tile installers and manufacturer guidelines recommend wiping away grout residue within this window before it begins to harden on the tile face.
The Most Common Tiling Pitfalls — and How to Sidestep Them
Most tiling problems fall into a few predictable categories: surface preparation shortcuts, layout errors, and grouting missteps. Understanding why each happens makes them much easier to prevent.
Failing to remove grout haze promptly after grouting.
Not checking the substrate for flatness before setting tile.
Using inconsistent mortar coverage beneath each tile.
Starting the tile layout from a corner rather than the center.
Skipping tile spacers or removing them too early.
Stop Before That Grout Cures
Spacing and layout errors are worth their own emphasis. Many homeowners start tiling from a corner because it feels logical — but this almost always creates narrow, awkward cut pieces at the other end of the room or around a key feature like a shower niche. A dry layout run (setting tiles without adhesive to preview the pattern) takes an extra hour but can save days of frustration.
Lippage Creates Real Safety Hazards
A Quick Pre-Tile Checklist to Keep Your Project on Track
Before mixing mortar, run through these preparation steps to catch problems early:
- Check substrate flatness with a long straightedge; address any variation greater than 1/8 inch over 10 feet.
- Confirm waterproofing in wet areas — cement board alone is not a waterproofing membrane.
- Dry-lay your tile pattern from the center outward and mark your layout lines with chalk.
- Select the right mortar and trowel for your tile size and substrate type; read the mortar manufacturer's guidelines.
- Gather haze-removal supplies before you begin grouting — not after.
Tiling rewards patience and preparation far more than speed. Taking time at each stage — substrate, layout, setting, and grouting — is what separates a bathroom that looks sharp for years from one that needs repair before the caulk fully dries.
The content on this site is for informational purposes only and is not a substitute for professional advice. Always consult a qualified professional for guidance specific to your situation.