
Composting at Home: Turning Kitchen and Yard Waste into Garden Gold

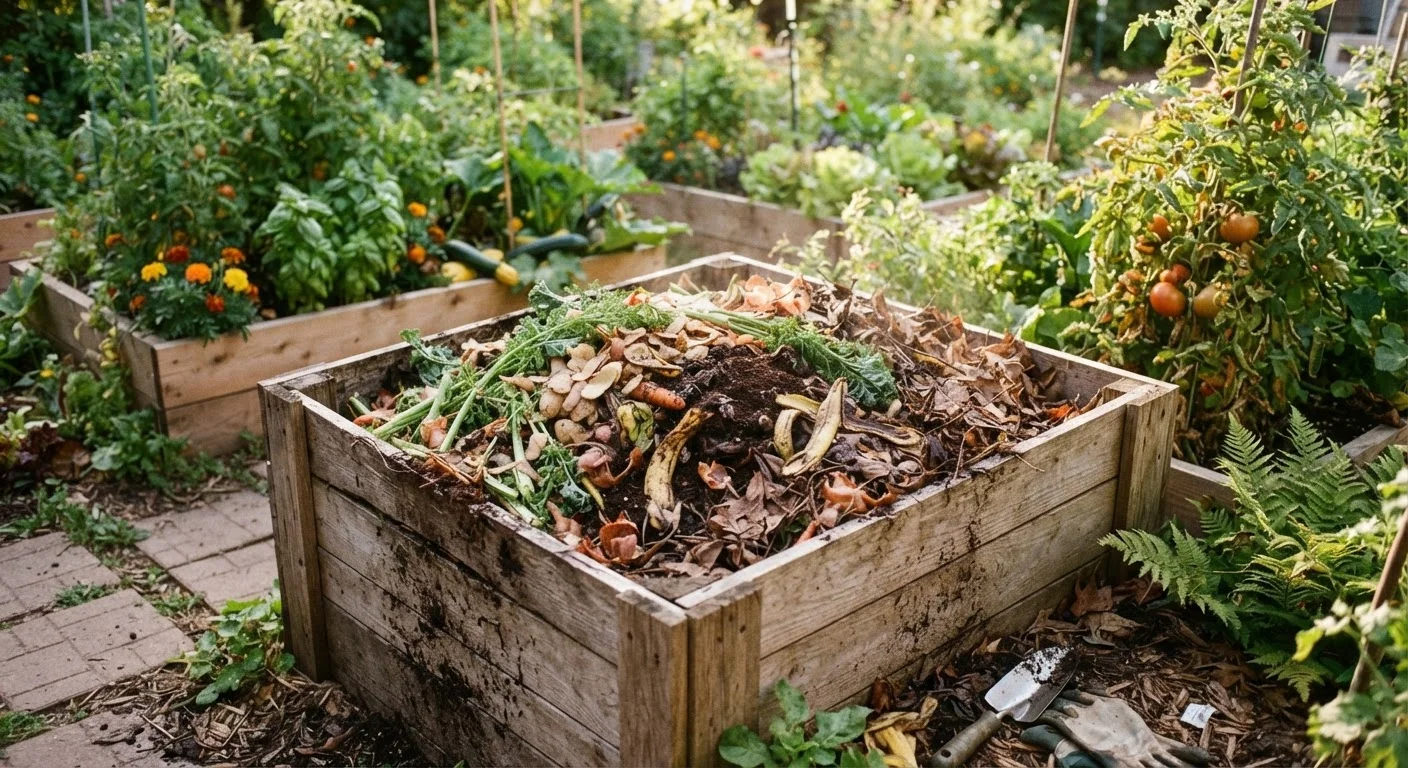
Photo: ShortwebArticles.com | Content For The Curious editorial
Key Takeaways
- Compost needs a balance of carbon-rich 'browns' and nitrogen-rich 'greens' to decompose efficiently.
- Moisture, aeration, and particle size are the three levers that speed up the composting process.
- Meat, dairy, and diseased plants should stay out of the home compost pile.
- Finished compost is dark, crumbly, and earthy-smelling — not slimy or foul-smelling.
- You can compost without a bin using a simple open pile, though bins help manage pests and aesthetics.
What Actually Happens Inside a Compost Pile
Composting is a managed biological process. Bacteria, fungi, and other decomposers break organic matter down into humus — a stable, carbon-rich material that improves soil structure, feeds plants slowly, and helps soil retain water. A well-managed pile passes through a thermophilic (hot) phase where internal temperatures can reach 130–160°F, which kills most weed seeds and pathogens. Cooler piles still produce usable compost; they just take longer.
Understanding this biology helps you diagnose problems. A pile that never heats up usually lacks nitrogen (greens) or moisture. One that smells foul is either too wet, lacking oxygen, or contains materials it shouldn't. Fixing the inputs fixes the pile.
Compost bin or open pile area
Contains materials, retains heat, and discourages pests during decomposition.
Garden fork or compost turning tool
Used to aerate and turn the pile, introducing oxygen to accelerate breakdown.
Watering can or hose
Maintains the moisture level needed for microbial activity.
Kitchen compost crock or countertop bin
Collects food scraps between trips to the outdoor pile.
Thermometer (compost or probe type)
Measures internal pile temperature to confirm active decomposition.
What to Compost — and What to Skip
Good additions: fruit and vegetable scraps, eggshells, coffee grounds and paper filters, tea bags (remove staples), dry leaves, grass clippings, garden trimmings, shredded newspaper, cardboard without glossy coating, and wood ash in small amounts.
Leave these out: meat, fish, dairy, oily or heavily seasoned food, pet or human waste, diseased plants, invasive weeds that have gone to seed, and any material treated with persistent pesticides or herbicides.
Never Compost These Materials
Speed Things Up with Smaller Pieces
If you're putting compost to work in food-growing beds, this pairs well with what you'll find in starting a vegetable garden from scratch — a guide covering soil prep and site selection for first-time growers.
Troubleshooting Common Composting Problems
Even experienced composters run into issues. Here's how to read the signs:
- Pile won't heat up: Add more greens (fresh grass clippings or kitchen scraps) and water. Turn to incorporate oxygen.
- Smell of ammonia: Too many greens. Add browns and turn the pile.
- Rotten-egg smell: Pile is too wet and anaerobic. Turn vigorously, add dry browns.
- Pests or rodents: Bury food scraps in the center of the pile; switch to a fully enclosed bin if problems persist.
- Decomposition is very slow: Particle size is likely too large. Shred materials before adding.
Watch Your Pile's Moisture Level
Compost also works in tandem with other soil-surface strategies. For a look at how mulch complements compost in garden beds, see mulching fundamentals.
Choose your composting method
For most homeowners, a contained bin — plastic tumbler, wooden slatted box, or simple wire cylinder — offers the best balance of efficiency and pest deterrence. An open pile works too and requires zero investment; choose a shaded, well-drained corner at least 3 feet from fences or structures. If space is very limited, a small tumbler bin or even a worm bin (vermicomposting) can process kitchen scraps on a patio or in a garage.
Understand the green-to-brown ratio
Greens are nitrogen-rich materials: vegetable and fruit scraps, coffee grounds and filters, fresh grass clippings, and plant trimmings. Browns are carbon-rich: dry leaves, straw, cardboard, paper bags, and woody prunings. A rough ratio of 1 part greens to 3 parts browns by volume keeps the pile active without becoming slimy or smelly. Too many greens produces a wet, ammonia-scented mass; too many browns slows decomposition to a crawl.
Build and layer your pile
Start with a 4–6 inch layer of coarse browns (wood chips, straw, or chunky leaves) directly on the ground to encourage drainage and airflow. Add a layer of greens, then another layer of browns. Lightly moisten each layer as you go. You don't need to be precise — layering is a rough guide, not a recipe. As the pile grows, just maintain the general carbon-to-nitrogen balance by alternating additions.
Maintain moisture and aeration
Decomposition is driven by microorganisms that need both moisture and oxygen. Turn the pile every one to two weeks using a garden fork, pulling material from the outside into the center. Each turning introduces oxygen and redistributes heat. If the pile feels dry, add water until it reaches a wrung-out-sponge consistency. During rainy spells, cover the pile or add extra browns to prevent waterlogging.
Recognize and harvest finished compost
Compost is ready when it is dark brown to black, crumbly in texture, and smells earthy — not like rotting food. This typically takes 2–6 months depending on pile size, materials, and how often it is turned. Unfinished material will still be visible; screen it out with a simple wire mesh sieve and return it to a new pile. Use finished compost by working it into garden beds, top-dressing lawns, or blending it into potting mix. For a full picture of how compost fits into your overall soil-building approach, see the complete guide to backyard composting and soil building.
The content on this site is for informational purposes only and is not a substitute for professional advice. Always consult a qualified professional for guidance specific to your situation.