
Setting Up a New Smartphone Without the Headaches

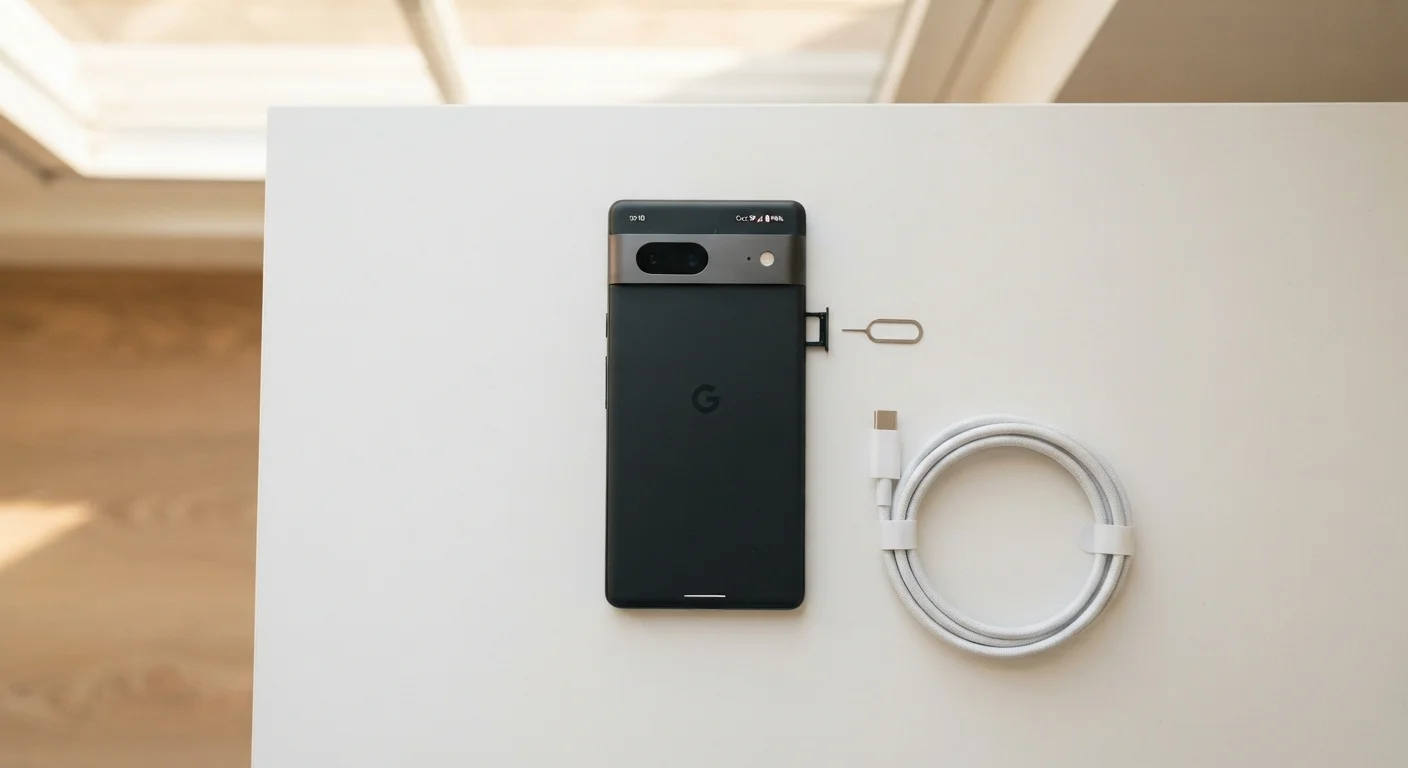
Photo: ShortwebArticles.com | Content For The Curious editorial
Key Takeaways
- Back up your old phone before touching anything on the new one.
- Installing your SIM card correctly is the first physical step — don't skip it.
- Sign in to your existing account (Google or Apple ID) to restore apps and settings automatically.
- Review privacy and notification settings immediately after setup to avoid annoyances.
- A stable Wi-Fi connection speeds up the entire process significantly.
Why Setup Order Matters
Most setup headaches happen not because the process is complicated, but because people skip steps or do them out of order. Jumping straight to a new phone before backing up the old one is the most common mistake — and it's one that can mean permanent data loss. Following a deliberate sequence means your apps, photos, contacts, and preferences carry over cleanly, and your new device feels familiar within the hour.
The steps below work for both iPhone and Android. Where the two platforms differ, both paths are noted. If you're curious about separating fact from fiction on smartphone features, the common smartphone myths guide is a good companion read.
What you will need
What You'll Need Before You Start
Gathering the right tools and information upfront prevents interruptions mid-process. Here's what to have ready:
SIM ejector tool or paper clip
Opens the SIM card tray on your new phone.
Wi-Fi network
Enables faster data transfer and system updates during setup.
Google account or Apple ID
Restores apps, contacts, photos, and settings from your previous phone.
Charging cable and power adapter
Keeps the phone charged throughout a potentially lengthy setup process.
Start with a Full Charge
The Setup Steps
Work through each step in order. Skipping ahead — especially past the backup and sign-in steps — is where most people run into trouble.
Back up your old phone
Before unboxing the new device, protect everything on your current phone. On an iPhone, go to Settings → [Your Name] → iCloud → iCloud Backup and tap Back Up Now. On Android, go to Settings → System → Backup and toggle on Google Backup, then tap Back Up Now. Wait until the backup completes — this can take a few minutes on a good Wi-Fi connection.
Install your SIM card
Locate the SIM tray on the side of your new phone. Insert the ejector tool (or a straightened paper clip) into the small pinhole and press firmly until the tray pops out. Place your SIM card into the tray — it fits only one way — then slide the tray back in until it clicks. If your carrier uses an eSIM (a digital SIM built into the phone), skip this step; you'll activate it during setup instead.
Power on and connect to Wi-Fi
Press and hold the power button until the manufacturer logo appears. Follow the on-screen language and region prompts. When asked about connectivity, select your home Wi-Fi network and enter the password. Connecting to Wi-Fi now means your phone can download updates and restore data without eating into your cellular data allowance.
Sign in and restore from backup
When prompted, sign in with your Apple ID (iPhone) or Google account (Android). You'll then be offered the option to restore from your most recent backup. Select it. The phone will begin downloading your apps, contacts, photos, and settings automatically. Restoration time varies — a large backup over Wi-Fi may take 10–30 minutes.
Set up Face ID, fingerprint, or PIN
After restoration, the phone will prompt you to configure biometric security — Face ID on newer iPhones, or fingerprint unlock on most Android devices. Follow the on-screen scan instructions carefully, repositioning your face or finger when asked. Also set a numeric PIN as a backup method. This is required for payments, app stores, and secure logins.
Install updates and review key settings
Go to Settings → Software Update (Android) or Settings → General → Software Update (iPhone) and install any available updates. Then spend five minutes in Settings → Privacy to review which apps have access to your location, camera, and microphone. Also visit Settings → Notifications and turn off alerts from any apps you don't want interrupting you.
Don't Skip the Backup Step
Keep Your Login Credentials Handy
After Setup: Making It Last
Once your phone is running, a few small habits will keep it in good shape for years. Avoid letting the battery drain to zero regularly, keep storage from filling up completely, and apply software updates promptly — they often include security fixes, not just new features. For a deeper look at phone longevity habits, see our article on keeping your devices running well for years.
If your home Wi-Fi felt slow during the setup process, it may be worth reviewing how your network is configured — the beginner's guide to home internet covers the basics in plain language.
The content on this site is for informational purposes only and is not a substitute for professional advice. Always consult a qualified professional for guidance specific to your situation.