
Garage Organization: Turning the Most Neglected Space into a Functional One

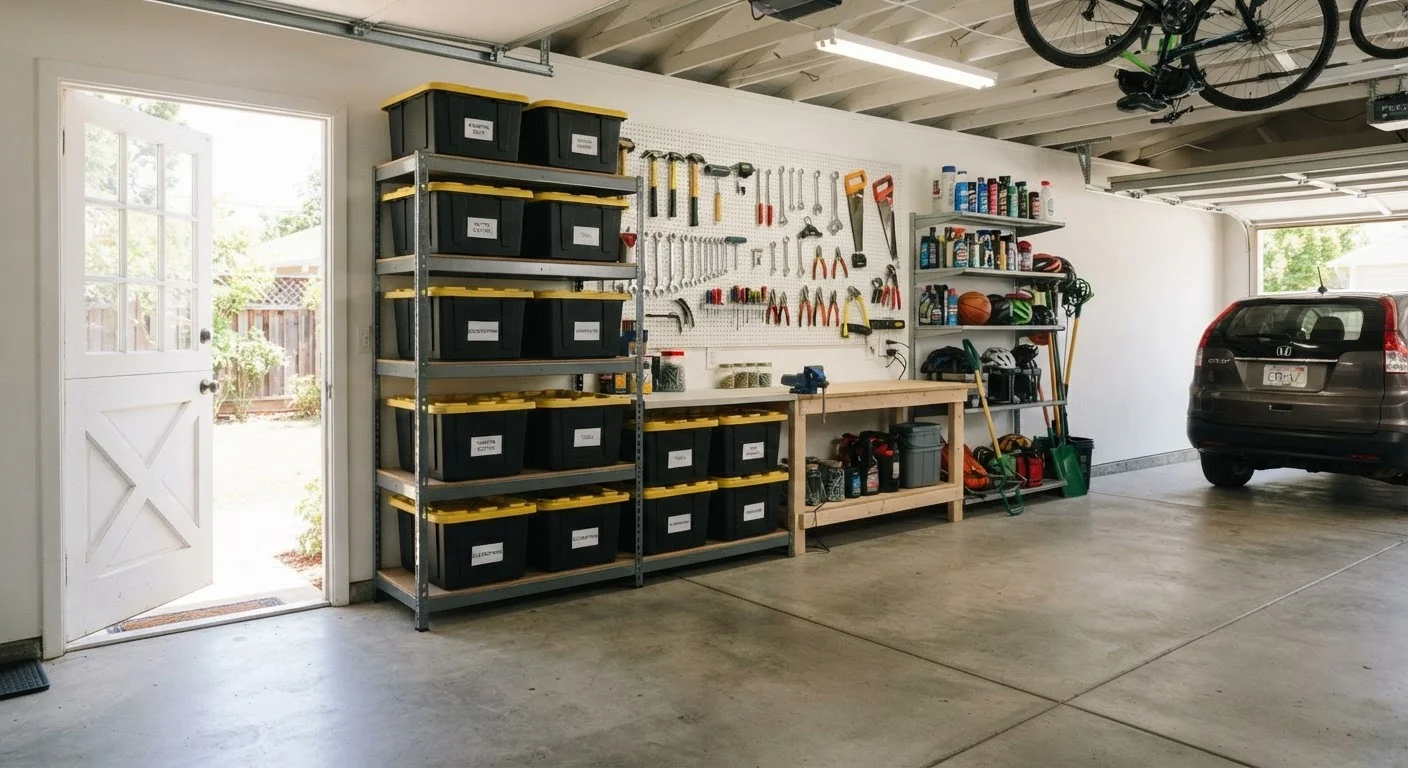
Photo: ShortwebArticles.com | Content For The Curious editorial
Key Takeaways
- Start by removing everything from the garage before sorting — trying to organize in place rarely works.
- Dividing the garage into functional zones is the single most effective structural decision you can make.
- Vertical wall space is almost always underused and can dramatically increase your storage capacity.
- Labeling every bin and container is what separates a system that lasts from one that collapses in weeks.
- Seasonal items belong at the perimeter or overhead — daily-use items should be easiest to reach.
- A garage organization project done in stages over a weekend is more sustainable than a single rushed session.
Why Garages Fall Into Chaos (And How to Stop the Cycle)
The garage is the home's default dumping ground. Sports gear, holiday decorations, half-used paint cans, power tools, bags of mulch — everything that doesn't have a clear indoor home tends to land here. The result is a space that's simultaneously full and disorganized, where nothing is easy to find and parking the car becomes an optimistic goal rather than a daily reality.
The root problem is rarely a lack of storage. As common organization myths suggest, adding more bins without a system doesn't fix anything — it just buries the clutter more expensively. What garages need is structure: defined categories, dedicated zones, and storage matched to how things actually get used.
Before you buy a single shelf or hook, understand that the transformation happens in the thinking, not the shopping. The steps below walk you through a proven sequence that works whether your garage is a one-car stub or a three-bay workshop.
What you will need
Tools and Materials You'll Need
Gather these before you start so the process doesn't stall midway.
Folding tables or tarps
Create a staging area outside the garage to sort items into categories before anything goes back in.
Heavy-duty storage bins with lids
Store grouped items in stackable, durable containers that protect contents from dust and pests.
Label maker or permanent markers and tape
Label every bin, shelf section, and hook zone so the system stays navigable for everyone in the household.
Wall-mounted shelving or freestanding shelving units
Move storage off the floor and up the walls, freeing floor space for vehicles and larger equipment.
Pegboard or slotted wall panel
Hang hand tools, garden tools, and cords visibly so they're easy to grab and easy to return.
Overhead ceiling storage rack
Store seasonal or rarely used items above head height, keeping the floor and lower walls clear.
Broom and dustpan or shop vacuum
Clean the floor thoroughly once empty — you'll want to see the actual condition of the space before planning storage.
Step-by-Step: Organizing Your Garage
Follow these steps in order. Skipping the early stages — especially the full empty-out — is the most common reason garage projects fail to stick. For a broader room-by-room approach that complements this process, see the home organization checklist.
Empty the entire garage
Move every item out of the garage and onto your driveway, lawn, or a staging area. This sounds extreme, but it's the only way to see what you actually have, assess the walls and floor, and prevent the common trap of organizing around existing clutter. Leave nothing behind except fixed structures like water heaters or built-in cabinetry.
Sort everything into categories
Group items by type and frequency of use. Typical garage categories include: automotive, yard and garden, sports and recreation, tools and hardware, holiday and seasonal, and items to donate or discard. Be honest — if something has been in the garage untouched for two or more years and has no clear future use, it's a candidate for the discard pile.
Clean and inspect the empty garage
Sweep or vacuum the floor, check for signs of moisture, pest activity, or wall damage, and identify where outlets, lighting, and any existing hooks or anchors are located. A clean, fully visible garage helps you plan zones accurately. Address any moisture or structural concerns before installing shelving — wood shelving in a damp garage will degrade quickly.
Plan your zones before installing anything
Sketch a rough floor plan and assign a dedicated zone to each category. Position high-frequency items — automotive supplies, everyday tools — nearest to the door you use most. Place seasonal or rarely needed items in back corners, high shelves, or overhead racks. Keep one clear central path and, if applicable, enough floor space for your vehicle. Zoning is the architectural decision that makes everything else work.
Install shelving and wall storage
Mount wall shelves, pegboards, or slotted panels according to your zone plan. Anchor shelving into wall studs — garage walls are often unfinished and stud locations may not be standard. If installing overhead racks, follow manufacturer weight limits carefully and anchor into ceiling joists, not just drywall. Vertical storage along the walls is what creates floor space, so prioritize it over freestanding shelving wherever possible.
Return items zone by zone and label everything
Bring items back into the garage category by category, placing each in its designated zone. Load heavy items onto lower shelves. Pack bins thoughtfully — don't mix categories within a single container. Label every bin, shelf section, and hook area clearly using a label maker or large-print tape labels. Labels are what make the system work for everyone in the household, not just the person who set it up.
Zone Before You Store
Maintaining the System Over Time
Organization isn't a one-time event — it's a habit. Schedule a quick 15-minute reset at the end of each season to return misplaced items, discard empties, and assess whether your zones still match how you're actually using the space. Applying seasonal rotation principles to the garage is especially effective: holiday decorations, summer gear, and winter equipment each get their own clearly labeled section of overhead or back-wall storage, swapped in and out as the year turns.
If the garage is part of a larger home improvement effort — insulating the walls, upgrading the floor, or improving lighting — coordinate those projects first. Structural work and organization don't mix well in sequence. For readers considering a more transformational change, our overview of garage conversion basics covers what's involved if you ever want to repurpose the space entirely.
The broader principles behind lasting home order — identifying why clutter accumulates and building habits to prevent it — are covered in depth in our guide to home organization from first steps to long-term systems.
Don't Store Hazardous Materials Improperly
The content on this site is for informational purposes only and is not a substitute for professional advice. Always consult a qualified professional for guidance specific to your situation.